Crochet a Flapping Heart Mini-Purse for a Last Minute Gift

It’s a super quick way to create an adorable Galentine’s/Valentine’s Day gift.
I’m a novice when it comes to crochet, and even I can make this cute purse in a matter of few hours.
Basic Elements
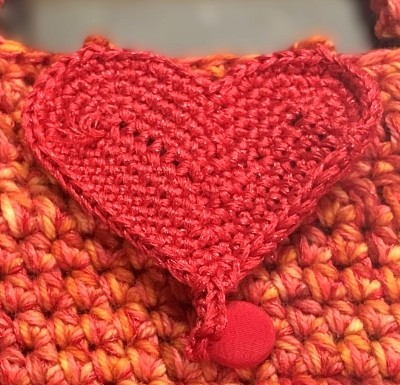
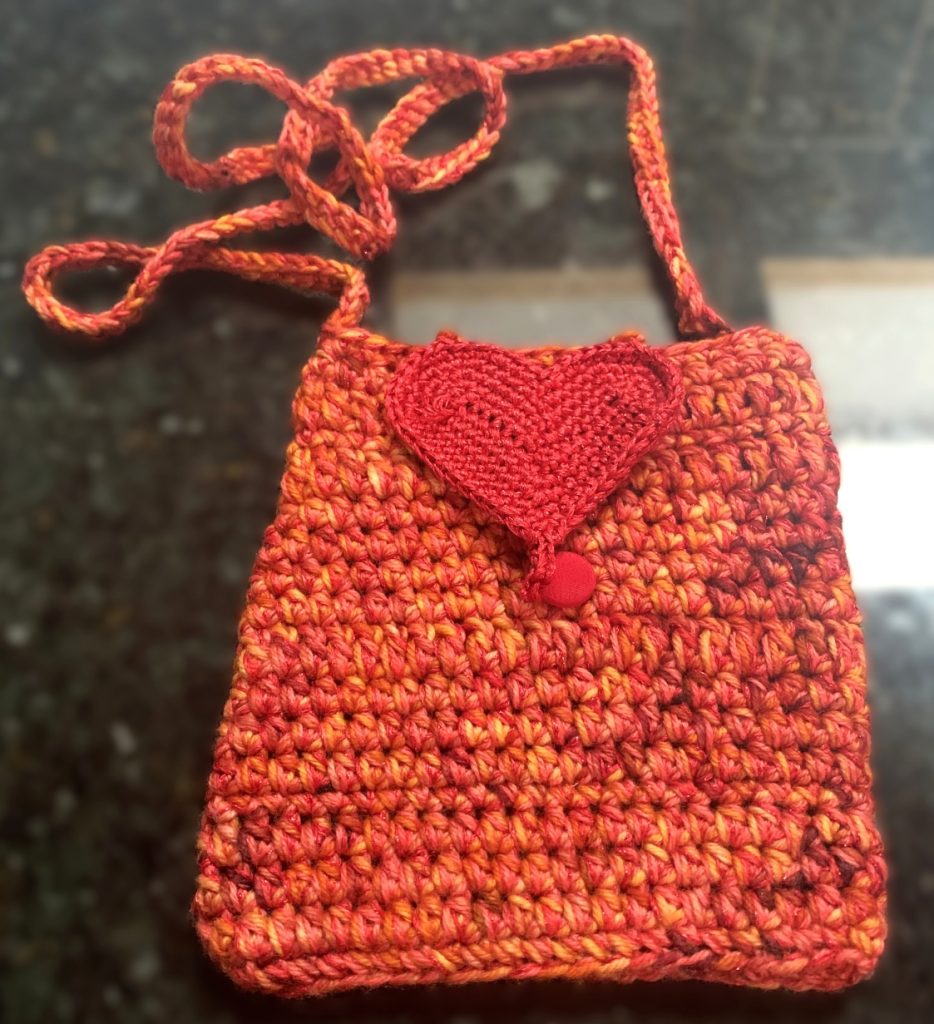
The heart on the flap is same as the Clover Heart Coaster post which is attached to the top back side of the body with two short crochet slip stitch strands. For the body, I mostly used half-double crochet stitches with single and double crochet stitches in intervals. You can, naturally, use any combination of your favorite stitches. For the strap, after finishing the body, I continued on to crochet single stitches from one end and finished and attached to the other end so that I only have one end to weave in.
Optional: you can close the flap by attaching a small button to the front side of the body.
Mechanics
The size, yarn, and gauge are entirely up to you. To create a solid fabric for a purse, I would suggest using a hook one size down.
| Size | Yarn | Hook |
| Body: 5″ x 7″ Strap: 22″ | Any worsted or light bulky yarn. Flap – three strands of lace yarn. Body – three strands, i.e., two strands of fingering yarns + lace yarn used in the heart. | H or 5.0mm hook |
Abbreviations:
- St(s) – stitche(s)
- CH – chain
- SC – single crochet stitch
- DC – double crochet stitch
- HDC – half double crochet stitch
- SL St – slip stitch
Instructions:
- Base – start with 21 CHs. Insert the hook in the back hump of the 2nd CH from the hook, and DC 20 sts.
- Body
- Row 1 – CH 1 (1st st), and SC 19 sts. along one side of the base. SC at the end of the base, and SC 20 sts. on the other side. SL St to the 1st CH to complete the loop.
- Row 2 – CH 2, and HDC 40 sts. and complete the loop with SL St back to the top of the CH.
- Row 3 and beyond – continue to crochet up with HDC all around, or mix SC (CH 1) or DC (CH 3) until the body reaches the height you would like. In this example, I completed 18 rows of mostly HDC with a few DC rows.
- Strap
- After you SL St the last row and complete the top edge loop, CH until it reaches about 50″ in length and attach to the other end of the body with SL st. If you would like a longer strap, increase the number of CH sts.
- SC back each CH to the end you started the CH. 50″ of CH will likely end up at around 44″ of SC sts.
- Cut the yarn and weave the end.
Flap
- Following the instruction of the Clover Heart Coaster, create one heart. Cut the yarn and weave the end on the back side.
- Optional button loop – depending on the size of the button, starting at the pointy bottom the heart, CH just enough for the button to barely go through, and create a loop by SL St.
- Attaching the Heart Flap
- Measure the distance of the two top “bumps” of the heart and determine the two points the heart will be attached to the back side of the body at the top.
- At one end, CH 4, attach the top back side of the bump and SL st back to the body.
- SL st along the top of the body to the other end of bump, and repeat the process of attaching the bump and SL st back to the body.

Weave in ends, and enjoy yourself or present as a gift.


Leave A Comment