Easy breezy hooded lace tunic
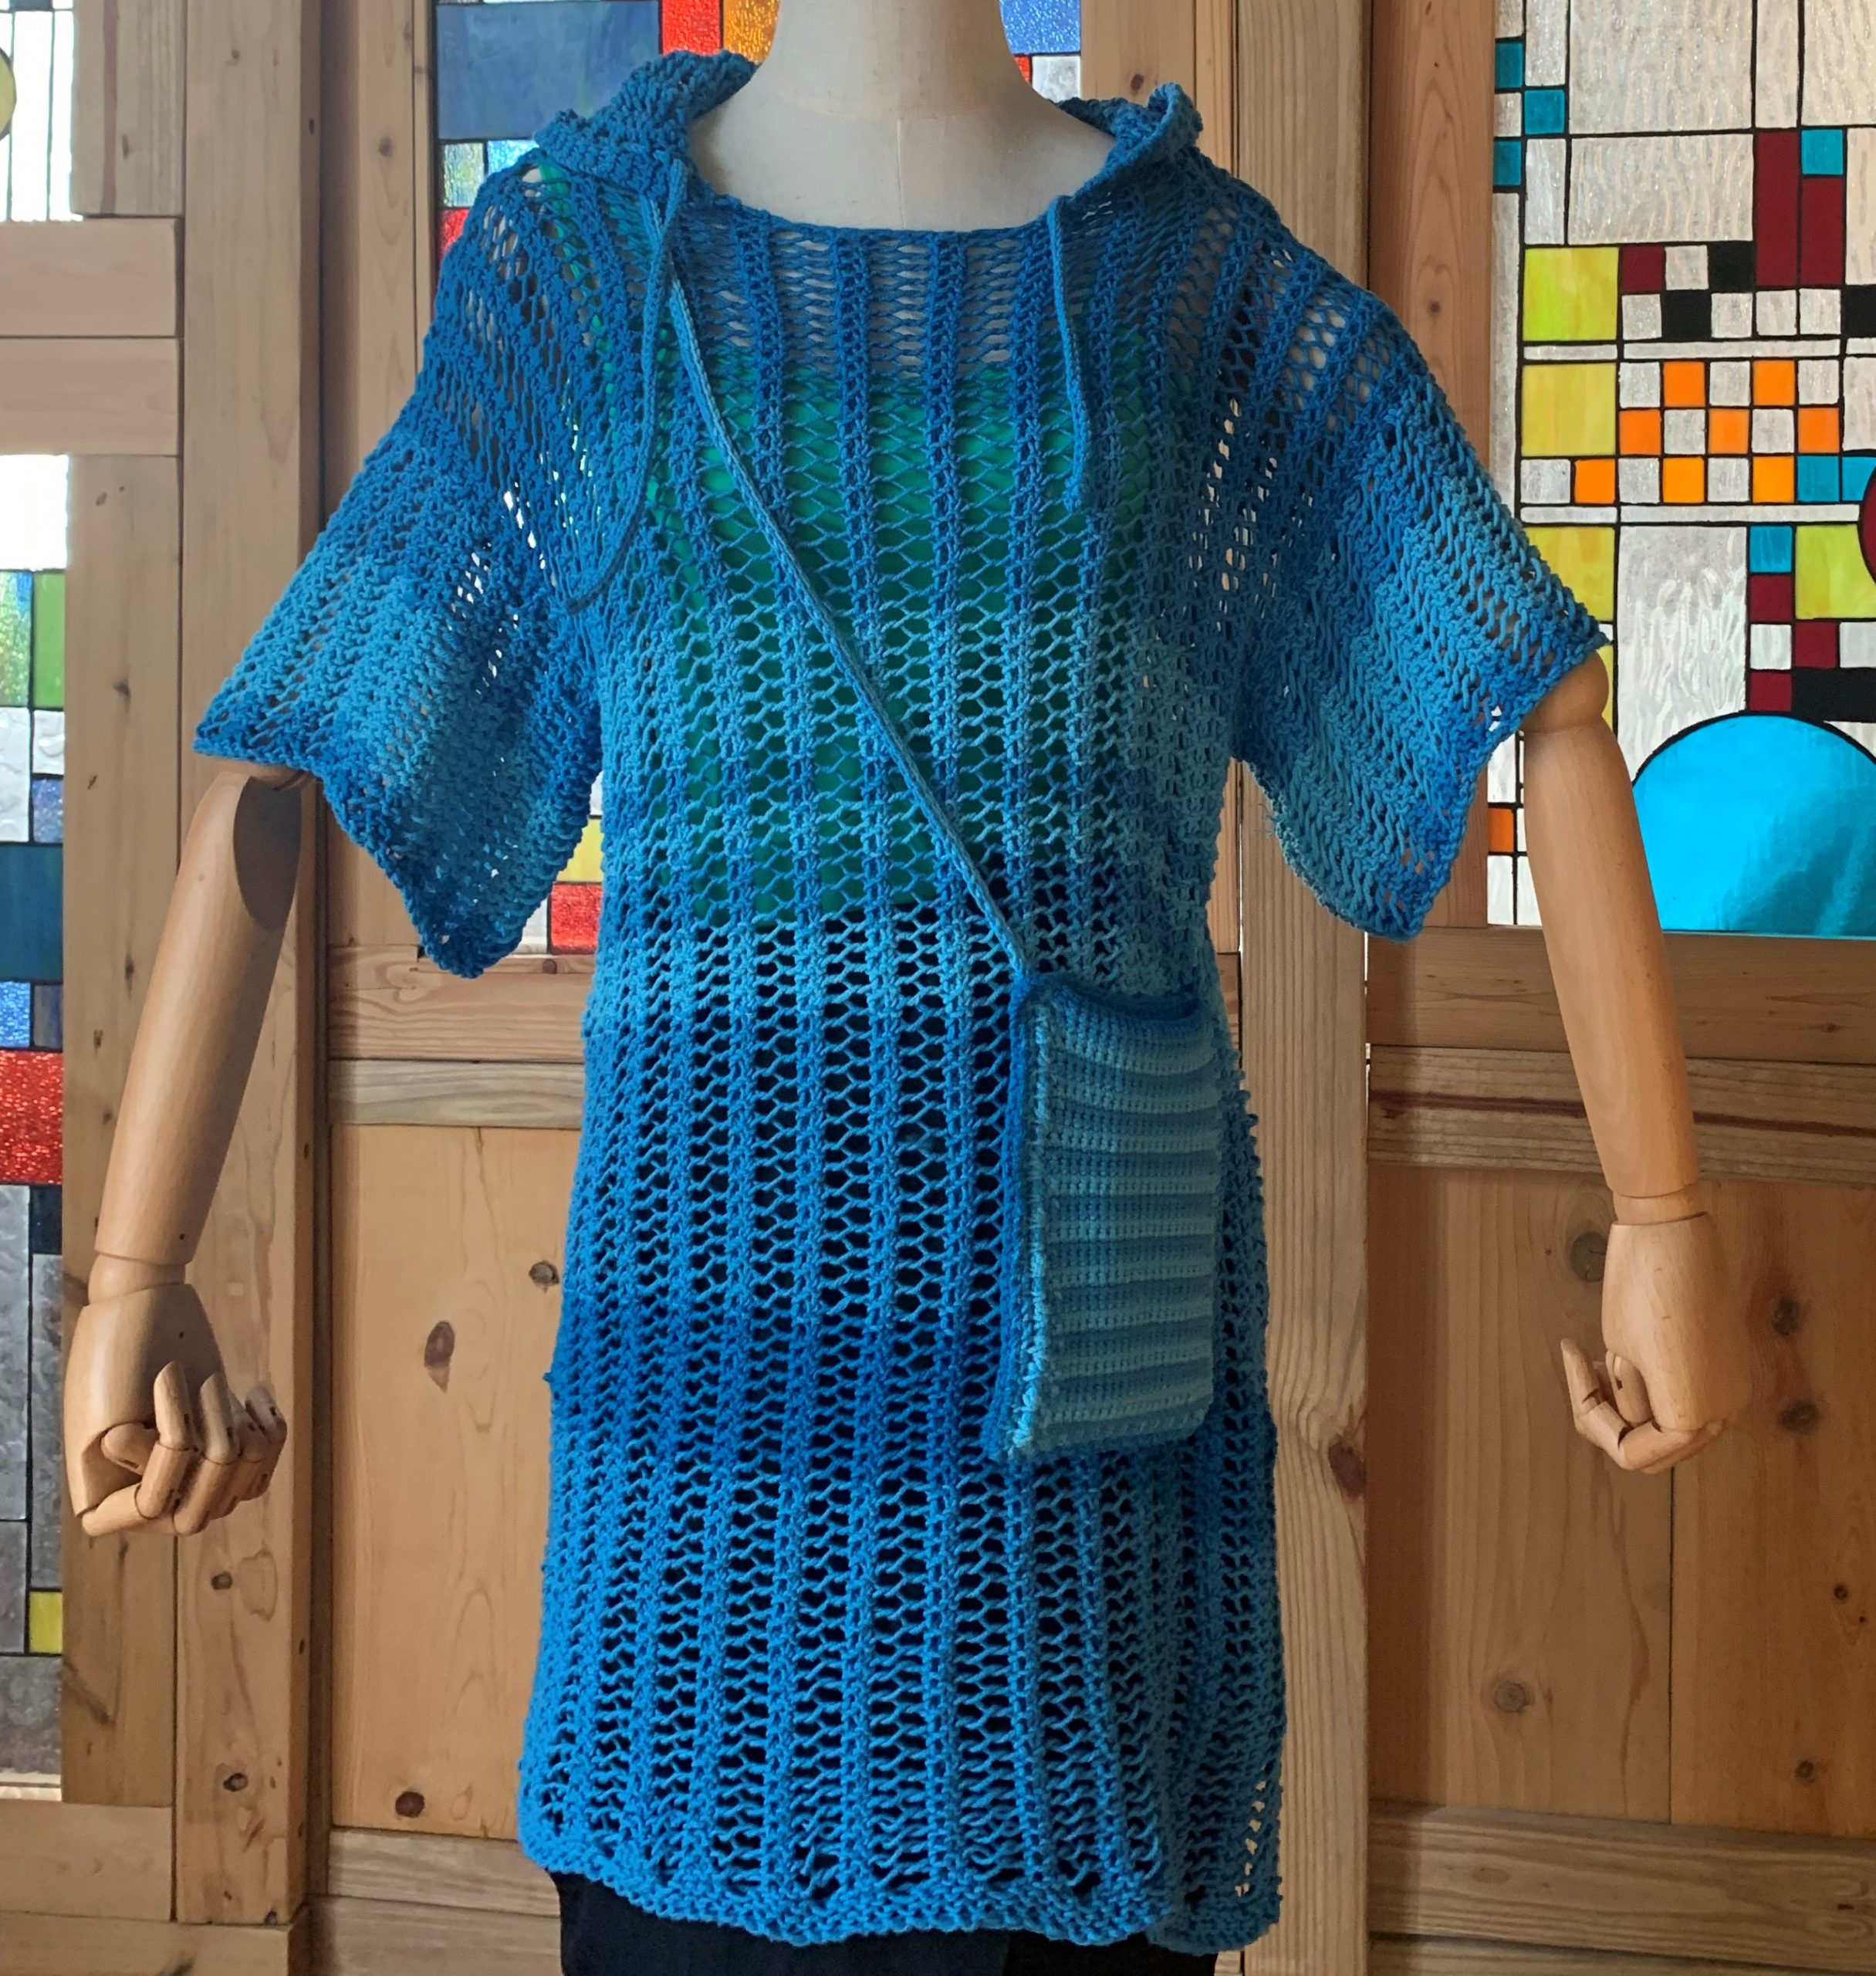
Note – I wanted to finish this post before I started my summer trip in August, but was unable to. So, it may be a bit too late for a summer cover-up. You can use a warmer yarn for your fall outfit, though.
If you happen to have a few skeins of cotton or linen yarns and looking for ways to use it, knitting a lace t-shirt, cardigan, or shawl can be a great way to make a good use out of them. If you don’t have enough for a complete project, you can mix a few different colors in either stripe, color block, or other pattern. And that necessity may prompt you to try out a color combination you might not have considered before.
I had six skeins of a 100% linen yarn (Stacy Charles Ariana), and after knitting/re-knitting a few summer garments (short cardigan, long tank top) and not liking any of the results, I decided to give it a final try with a super simple lace t-shirt, and ended up liking it.
100% linen yarn is nice to wear in hot weather, but was not a great fun to knit because it does not have any “give” or flexibility.
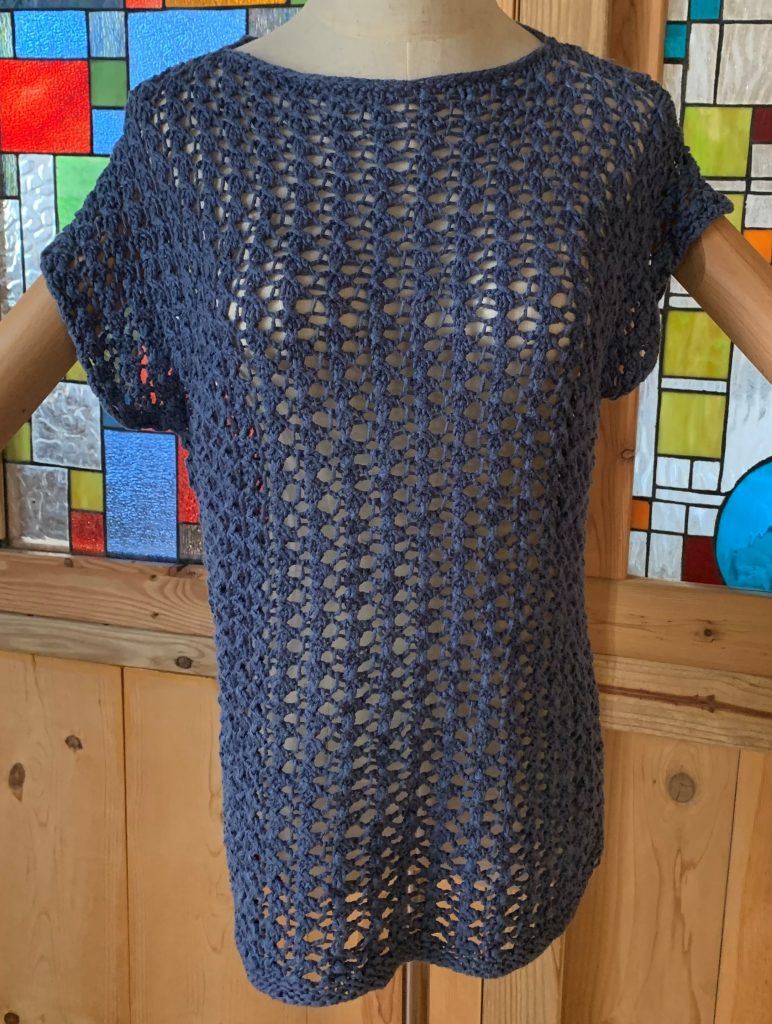
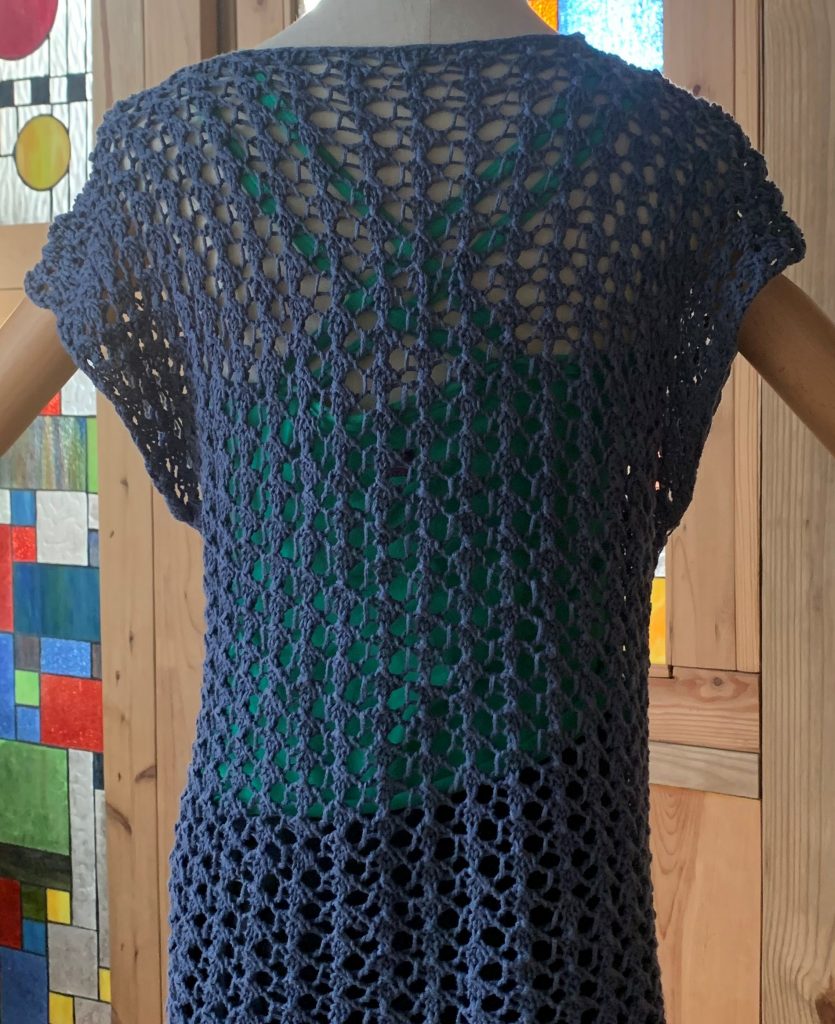
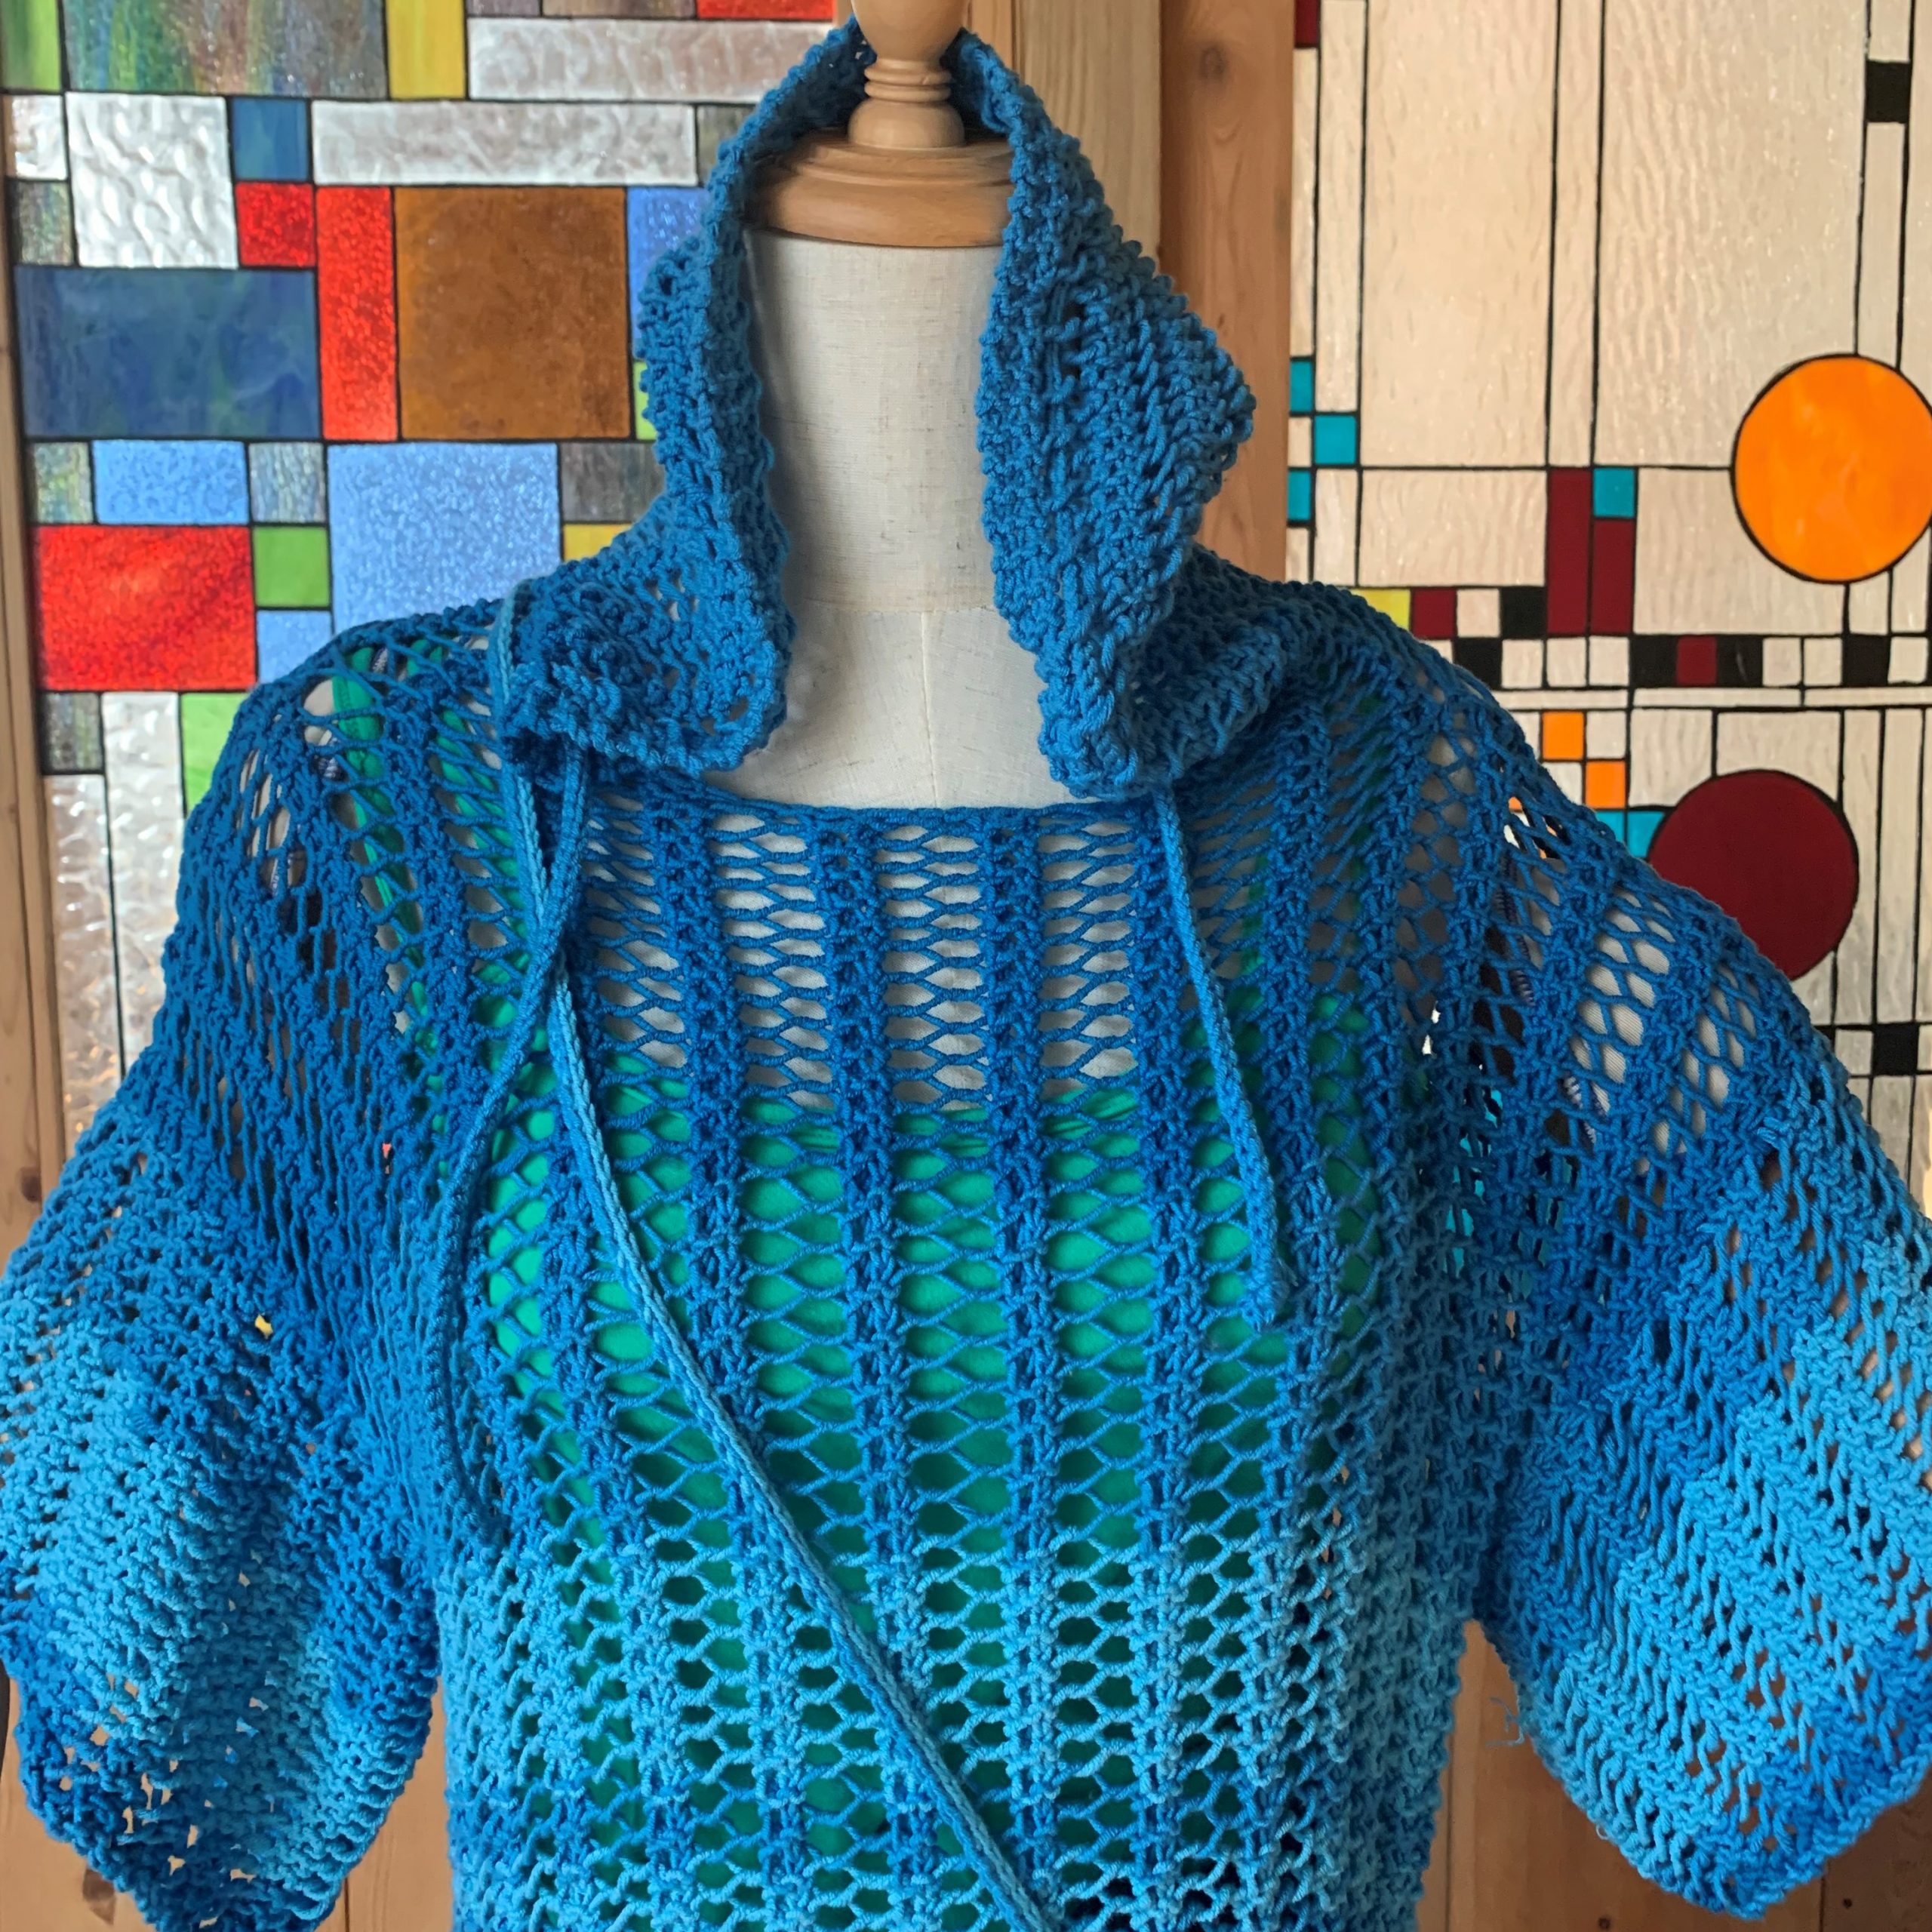
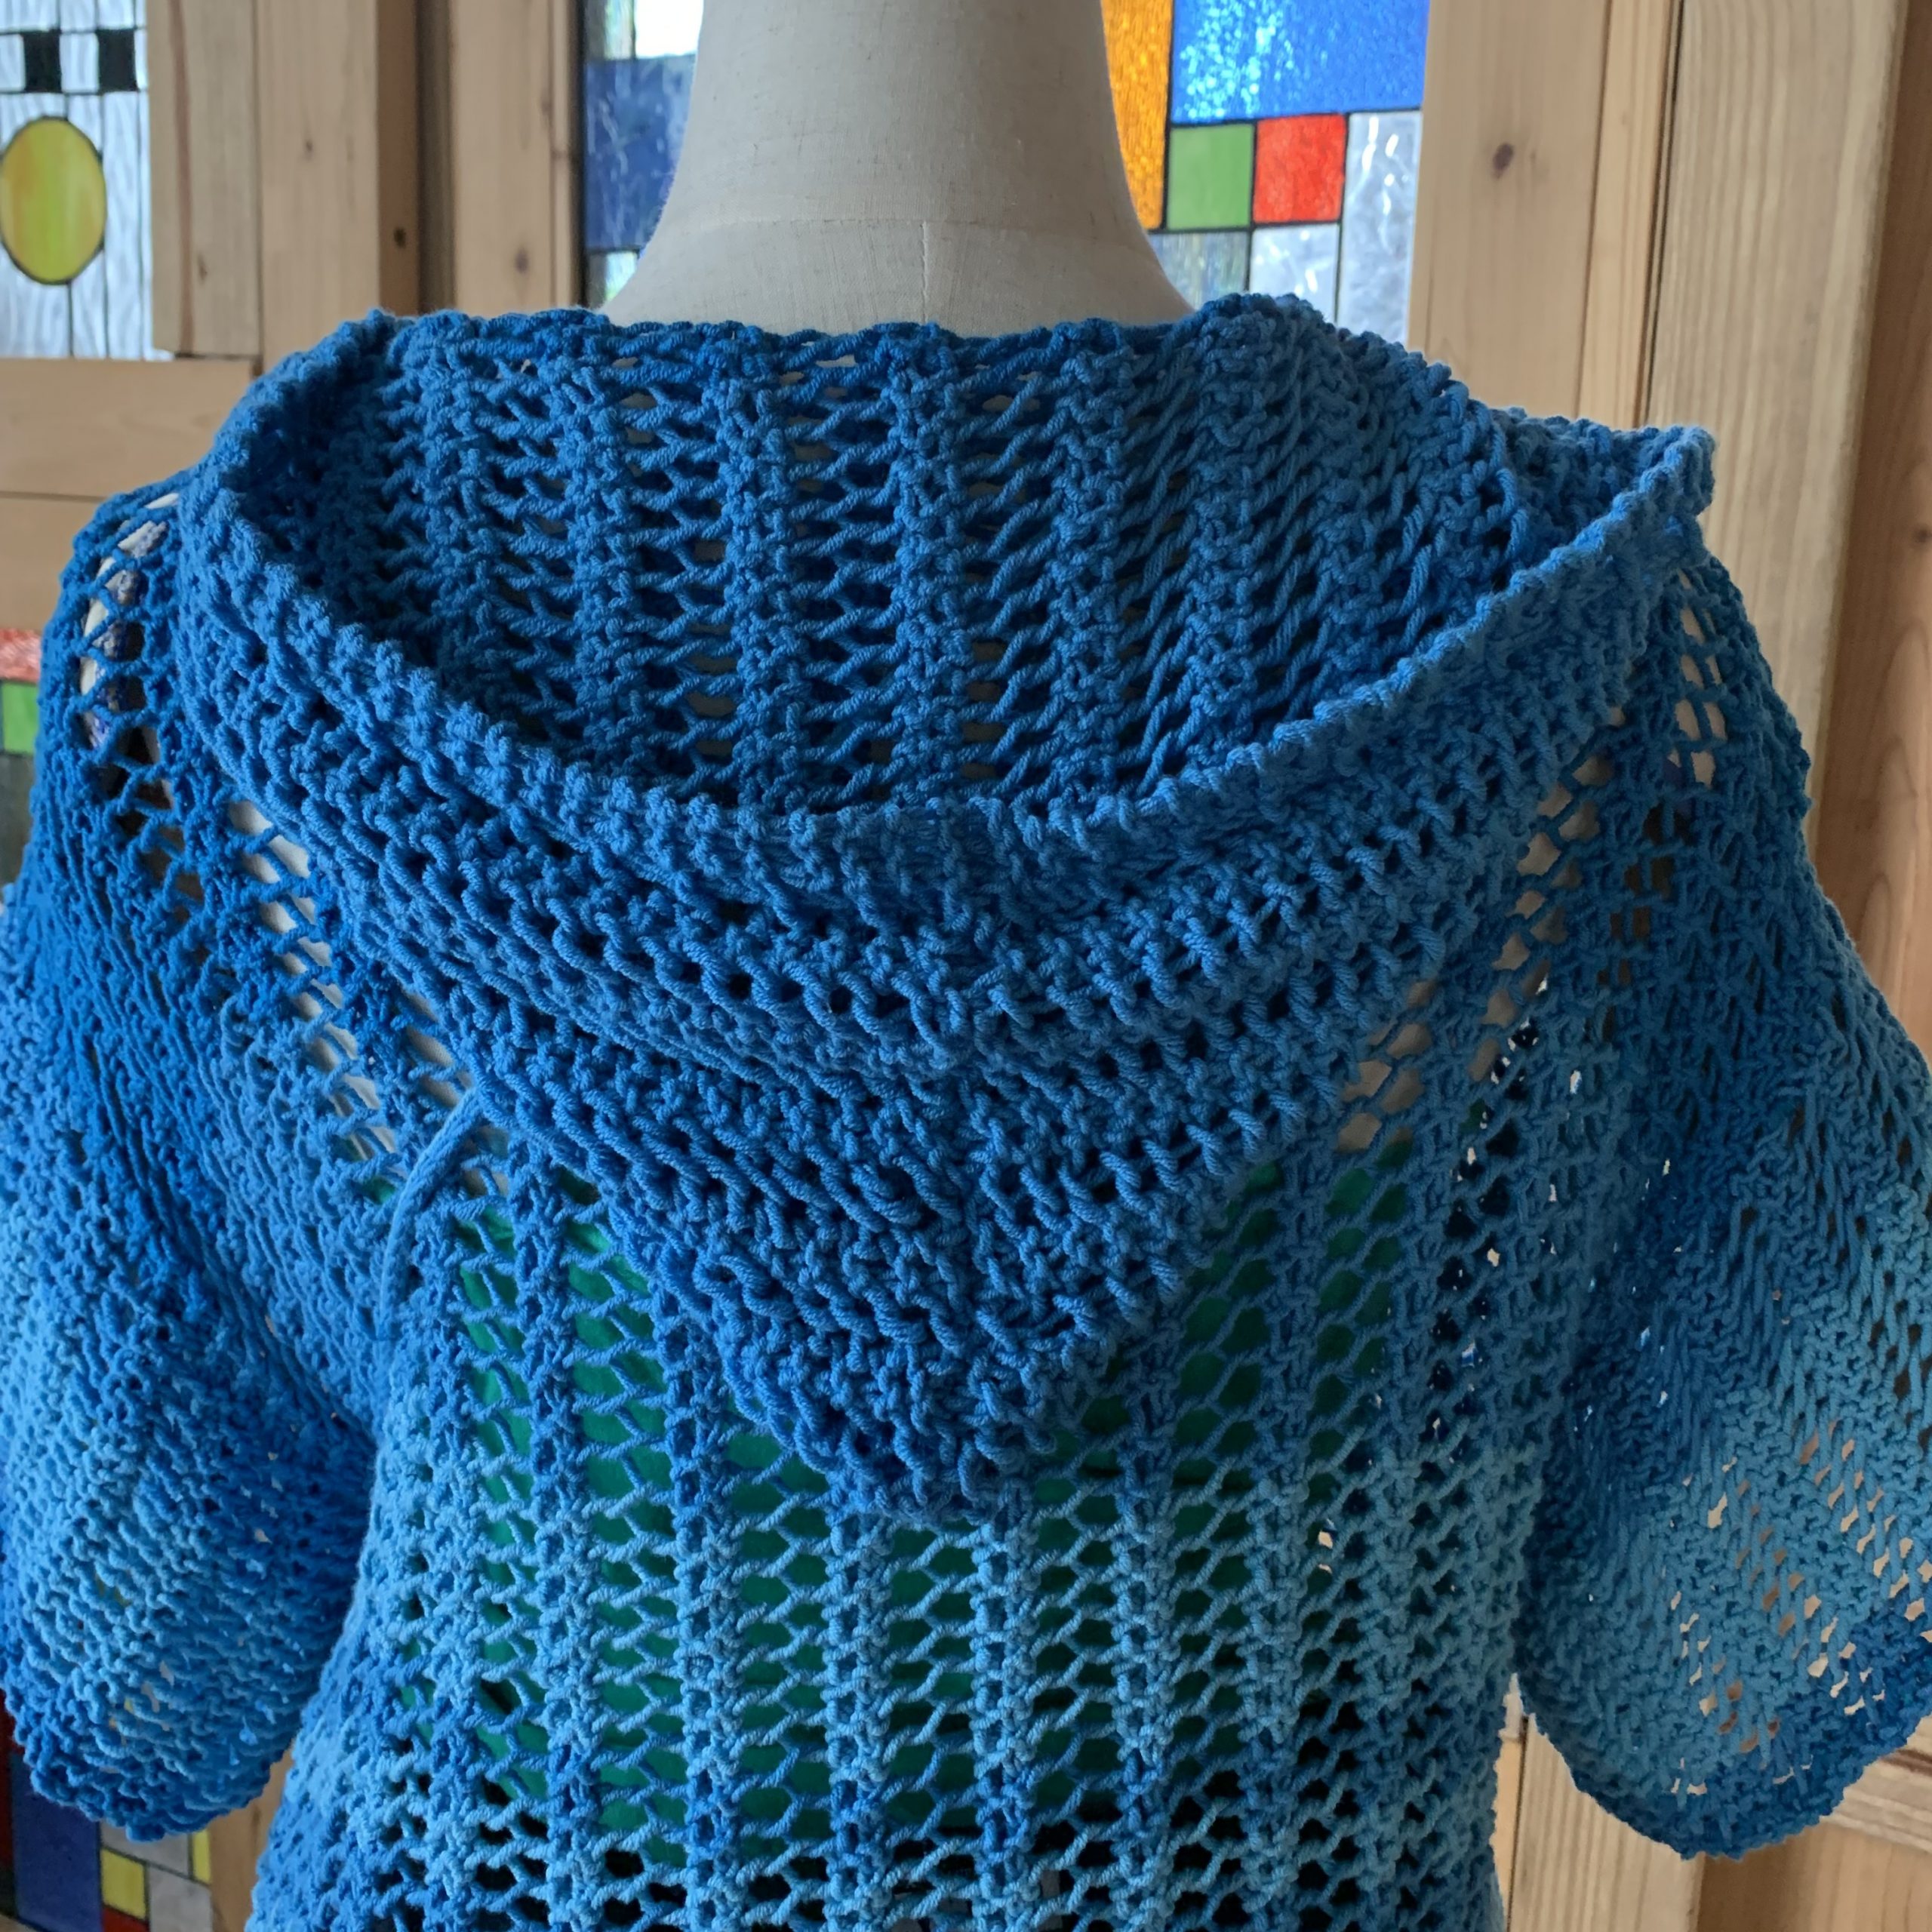
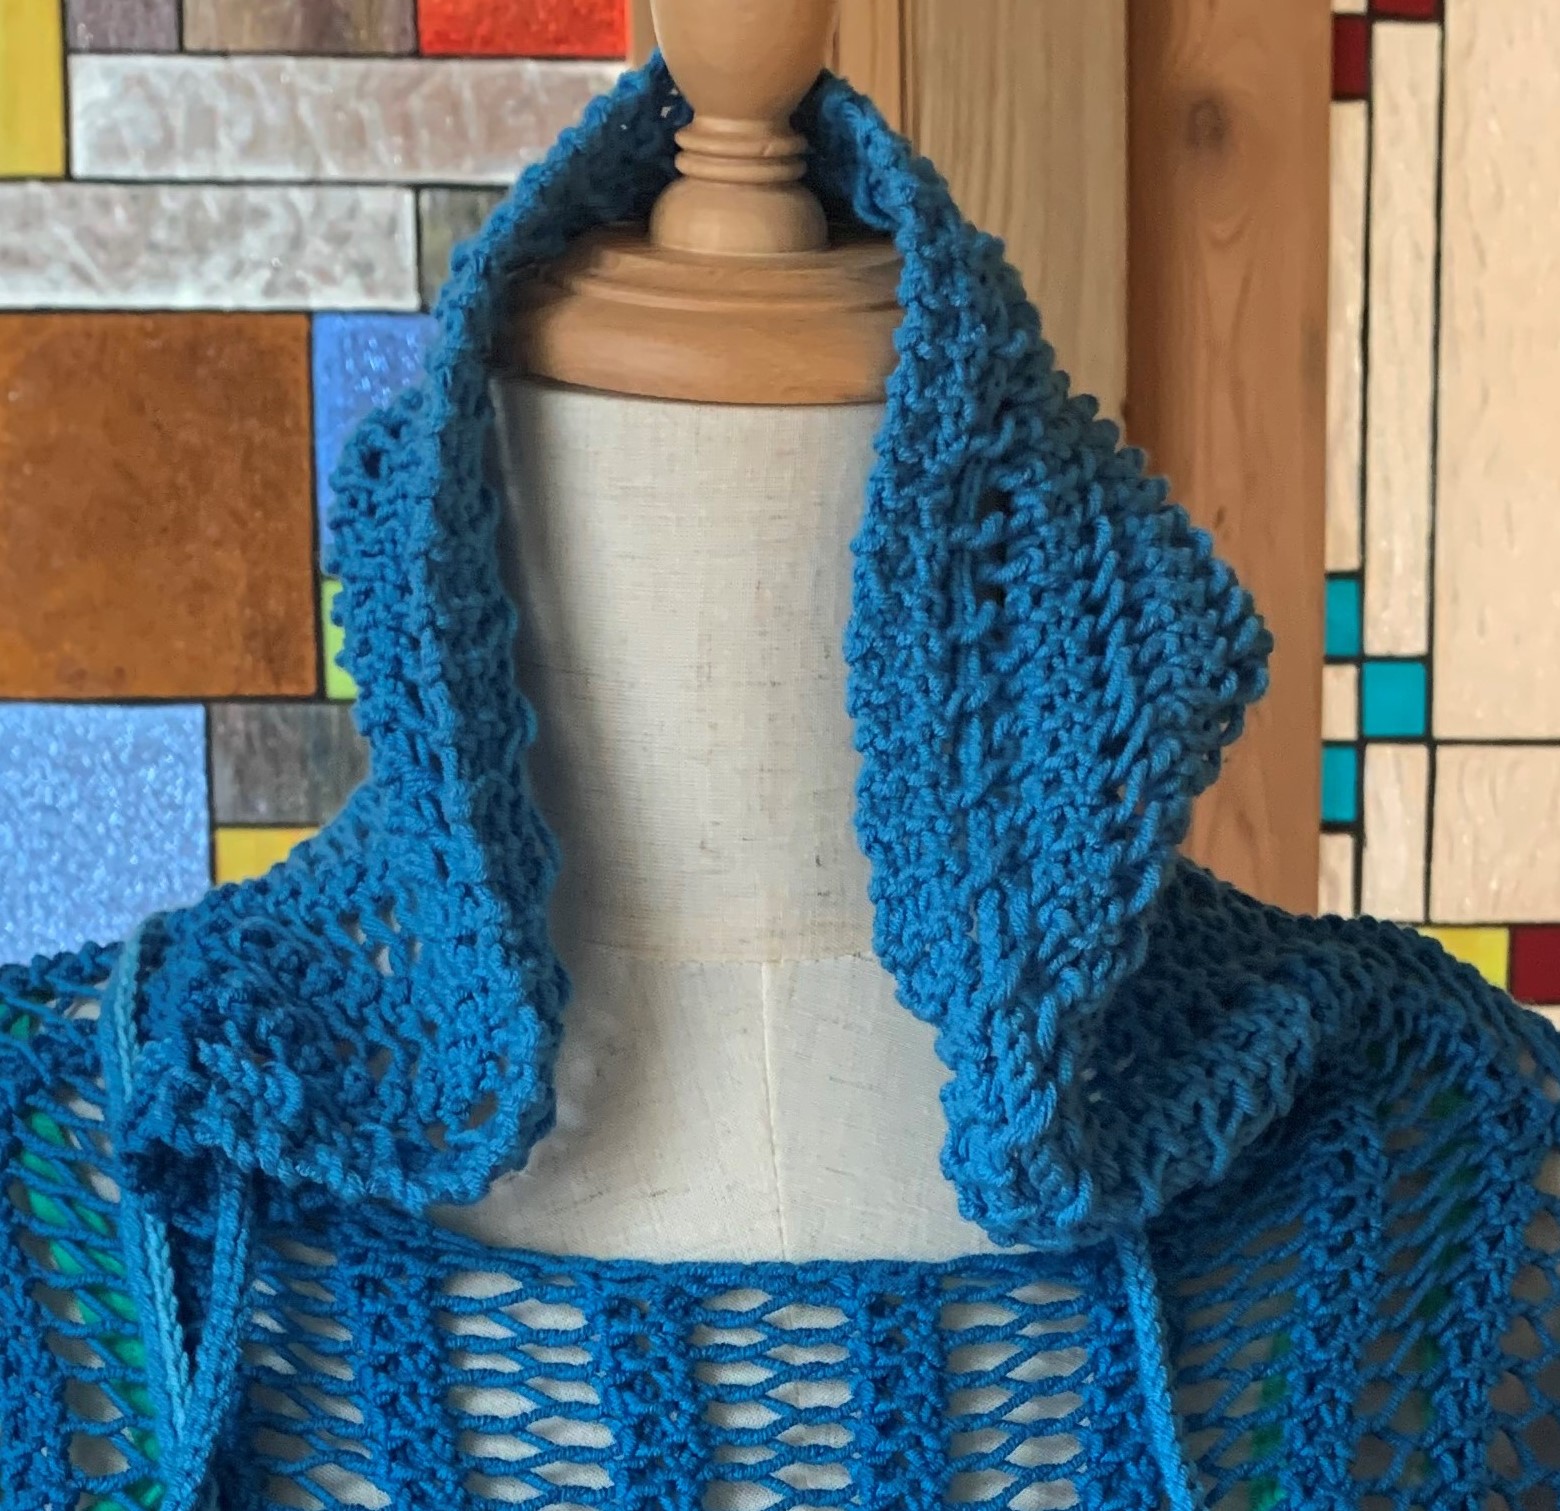
Then I came across a 93% cotton/7% polyester yarn. It has a nice bouncy texture and is pleasant to handle for a summer project. I wanted something different from the t-shirt, and decided to go with a lace cover-up (or tunic) with a “shallow” hood, i.e., hood is not so deep as to drop down to cover your eyes (which is super annoying).
The lace patter here is also quite simple “one row lace scarf” – you might have seen it elsewhere. I first saw it in Give me a Purl, a Norwegian crafter Turvid’s blog. It makes a beautiful, flat, and reversible fabric, so will work great in scarf, wrap, or a garment with a collar or hood. It also has natural garter edging on both sides, so you can just knit, sew, and be done!
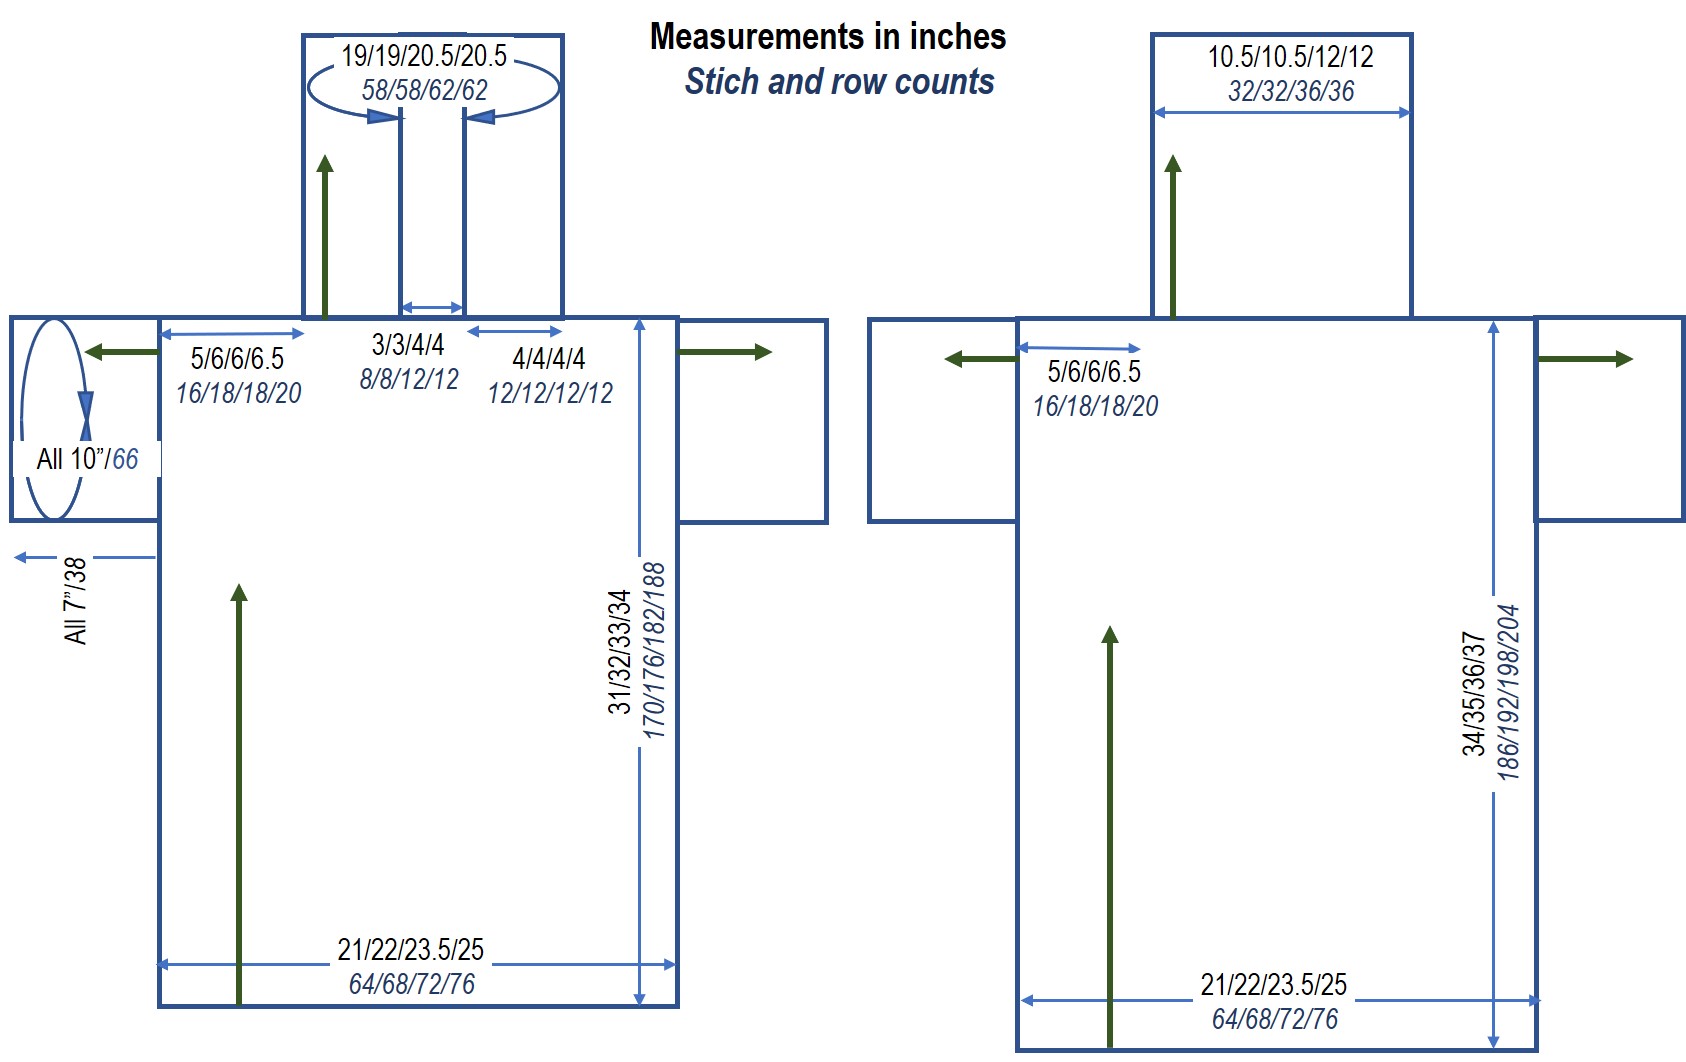
The overall construction is basically two rectangular pieces sewed at Shoulder, with Hood and two shallow pieces for Sleeves knitted afterwards. This one is about 3″ longer in the back, so the Shoulder Line is not exactly smack in the middle. This stitch is very stretchy both horizontally and vertically, so the size variations suggested below can be adjusted as you please.
As usual, I did not have enough yarn length in a single color, so knitted in somewhat random stripes of three tonal colors.
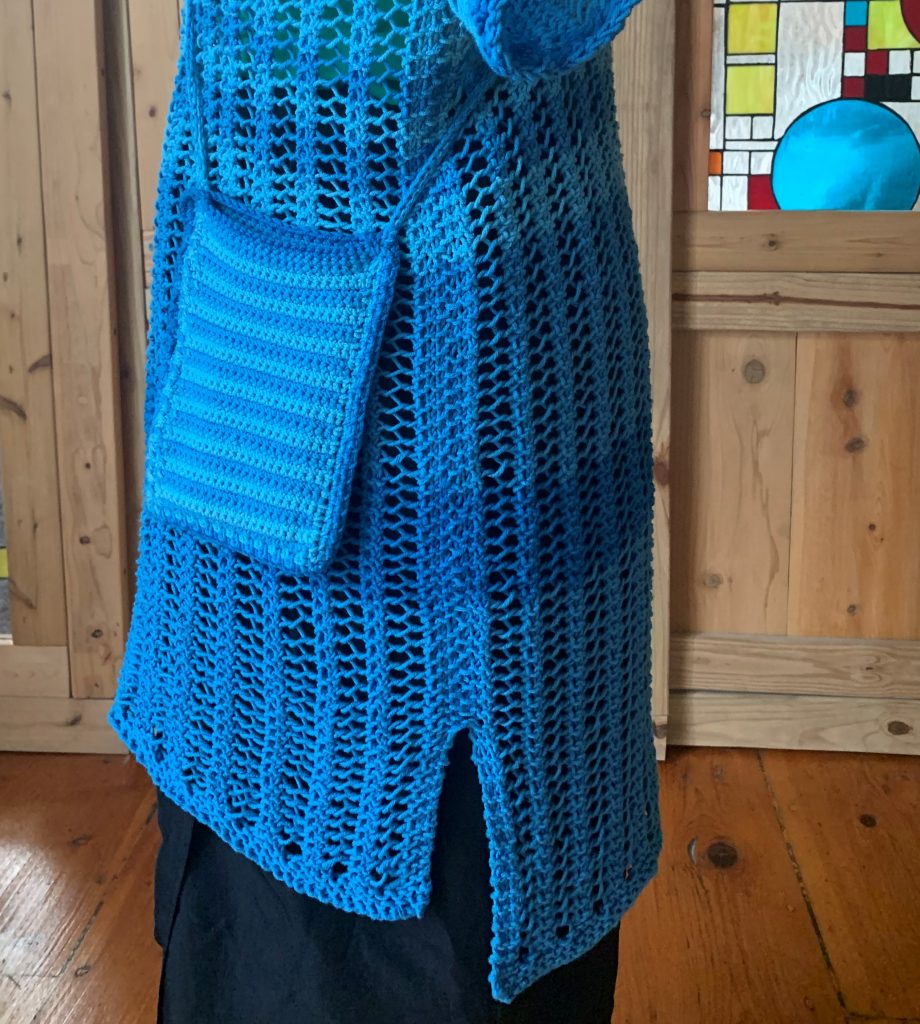
Since adding pockets was not a good option for this piece, using a left-over yarn, I created a cross-body mini pocket purse. Abbreviated instructions are below. Please contact me if you would like more details.
| Yarn | Needle | Size (S/M/X/XL) | Gauge (4″) | Construction |
| Recommend worsted cotton or linen yarn. Need approx. 950/1,000/1,050, 1,100 yrds for Tunic and 100 yrds for Pouch. This one uses Lana Grossa Cool Cotton (93% cotton, 7% polyester; 50g, 115 yrds) | US#8 or 9 (depending on your gauge) circular needle, 24″ for Body and 16″ for . It will be easier to use interchangeable needles because you’ll be holding Back Body unbound until Front Body is complete. US#6 or 7 crochet hook. | Width: 21/22/23.5/25″ Front Length: 31/32/33/34″ Back length: 34/35/36/37″ | 12 sts x 20 rows | Front & Back Body – knit flat vertically bottom up to Shoulder/Neck Hood – knit from Neckline after Body pieces are sewn together Sleeves – knit from Body Sides |
| RS – “right” side WS – “wrong” side | K – knit P – purl | St – stitch R – row | CO – cast on BO – bind off | YO – yarn-over K2tg – knit two stiches together |
Pattern stitch (4-stitch repeat):
yo, k2tg, k2
Knitting instructions
Back Body:
- CO loosely 64/68/72/76 sts.
- Starting with RS, K 4 rows in garter.
- From R5 and every row forward, K4 + pattern st, i.e., *yo, k2tg, k2* x 15/16/17/18 times until it reaches desired body length, i.e., 34/35/36/37″ or 182/188/194/200 rows.
- Leave all the stitches on Needle until Front Body is complete. OR you can hold unbound sts in 3 parts, i.e., Right Shoulder (16/18/18/20 sts), Neck Opening (32/32/36/36 sts), and Left Shoulder (16/18/18/20 sts).
Front Body:
- CO loosely 64/68/72/76 sts.
- Starting with RS, K 4 rows in garter.
- From R5 and every row forward, K4 + pattern stitch, i.e., *yo, k2tg, k2* x 15/16/17/18 times until it reaches desired body length, i.e., 31/32/33/34″ or 170/176/182/188 rows.
Sew Left and Right Shoulder:
- Before start knitting Sleeves and Hood, sew unbound stitches of both Left and Right Shoulders (16/18/18/20 sts each) with slip stitches using a crochet hook, i.e., turn Front and Back pieces facing WS, join one pair of Front/Back stitches at a time by pulling a yarn through them together and creating a loose crochet slip stitch.
- After you finish combing one Shoulder (I usually start with Left), leave unbound sts on Front and Back Necklines (32/32/36/36 sts each) and Sew the other Shoulder.
Knit and Sew Hood:
- Turn Body to face RS.
- CO/RS – using 16″ circular needle, pick up 12 sts from Right Neckline, all sts from Back Neckline and 12 sts from Left Front Neckline. Very loosely BO the remaining 8/8/12/12 sts of Front Neckline. The total st count should be 58/58/62/62.
- WS and every row forward, K4 + pattern st (yo, k2tg, k2) until it reaches the desired height, i.e., 14 – 16″, or 70 – 80 rows.
- Sew and BO the top of Hood from the edges to the center using crochet slip st method as in sewing Left/Right Shoulders.
- (Optional) I added a draw string to Hood by simply crochet a double slip st cord (slip st twice back & forth to a chain st) and thread through Hood edge.
Knit Sleeves and Finish
- Lay Front/Back Body flat sideways and using 24″ circular needle, pick up approx. 3 sts per 4 rows, ending up with 66 sts total = 20″ in circumference. You can adjust roominess of your sleeves by increasing or decreasing # of sts in the increment of 4 sts.
- WS and every row onward, K4 + pattern st (yo, k2tg, k2) until it reaches the desired height, i.e., around 7″ or 38 rows.
- BO Sleeves.
- Starting with the Sleeve end, sew Sleeves and Side Body using your favorite seeming method. I left about 5 inches un-seamed at the bottom.
Optional – Crochet Cross-body Pocket Purse
- Using a US#7 or 8 crochet hook, knit approx. 5″ x 13″ rectangular piece using single crochet sts. In this case, because I had two different color yarns, I alternated yarns on every two rows without cutting yarns.
- Fold the piece in half and starting at the top edge of one side, align both ends and sew the edges using single crochet moss st (repeat of single st + chain st).
- Add three sts at the bottom corner, continue with moss sts, add three sts at the other corner, sew up to the top edge.
- Add another round of moss stich.
- Crochet a strap: from one of the top ends, start a double-slip st cord, i.e., chain st. to the desired length (approx. 42″), anchor to the other top end, slip st twice and finish.


Leave A Comment